How to Write and Paint on Acrylic Signs
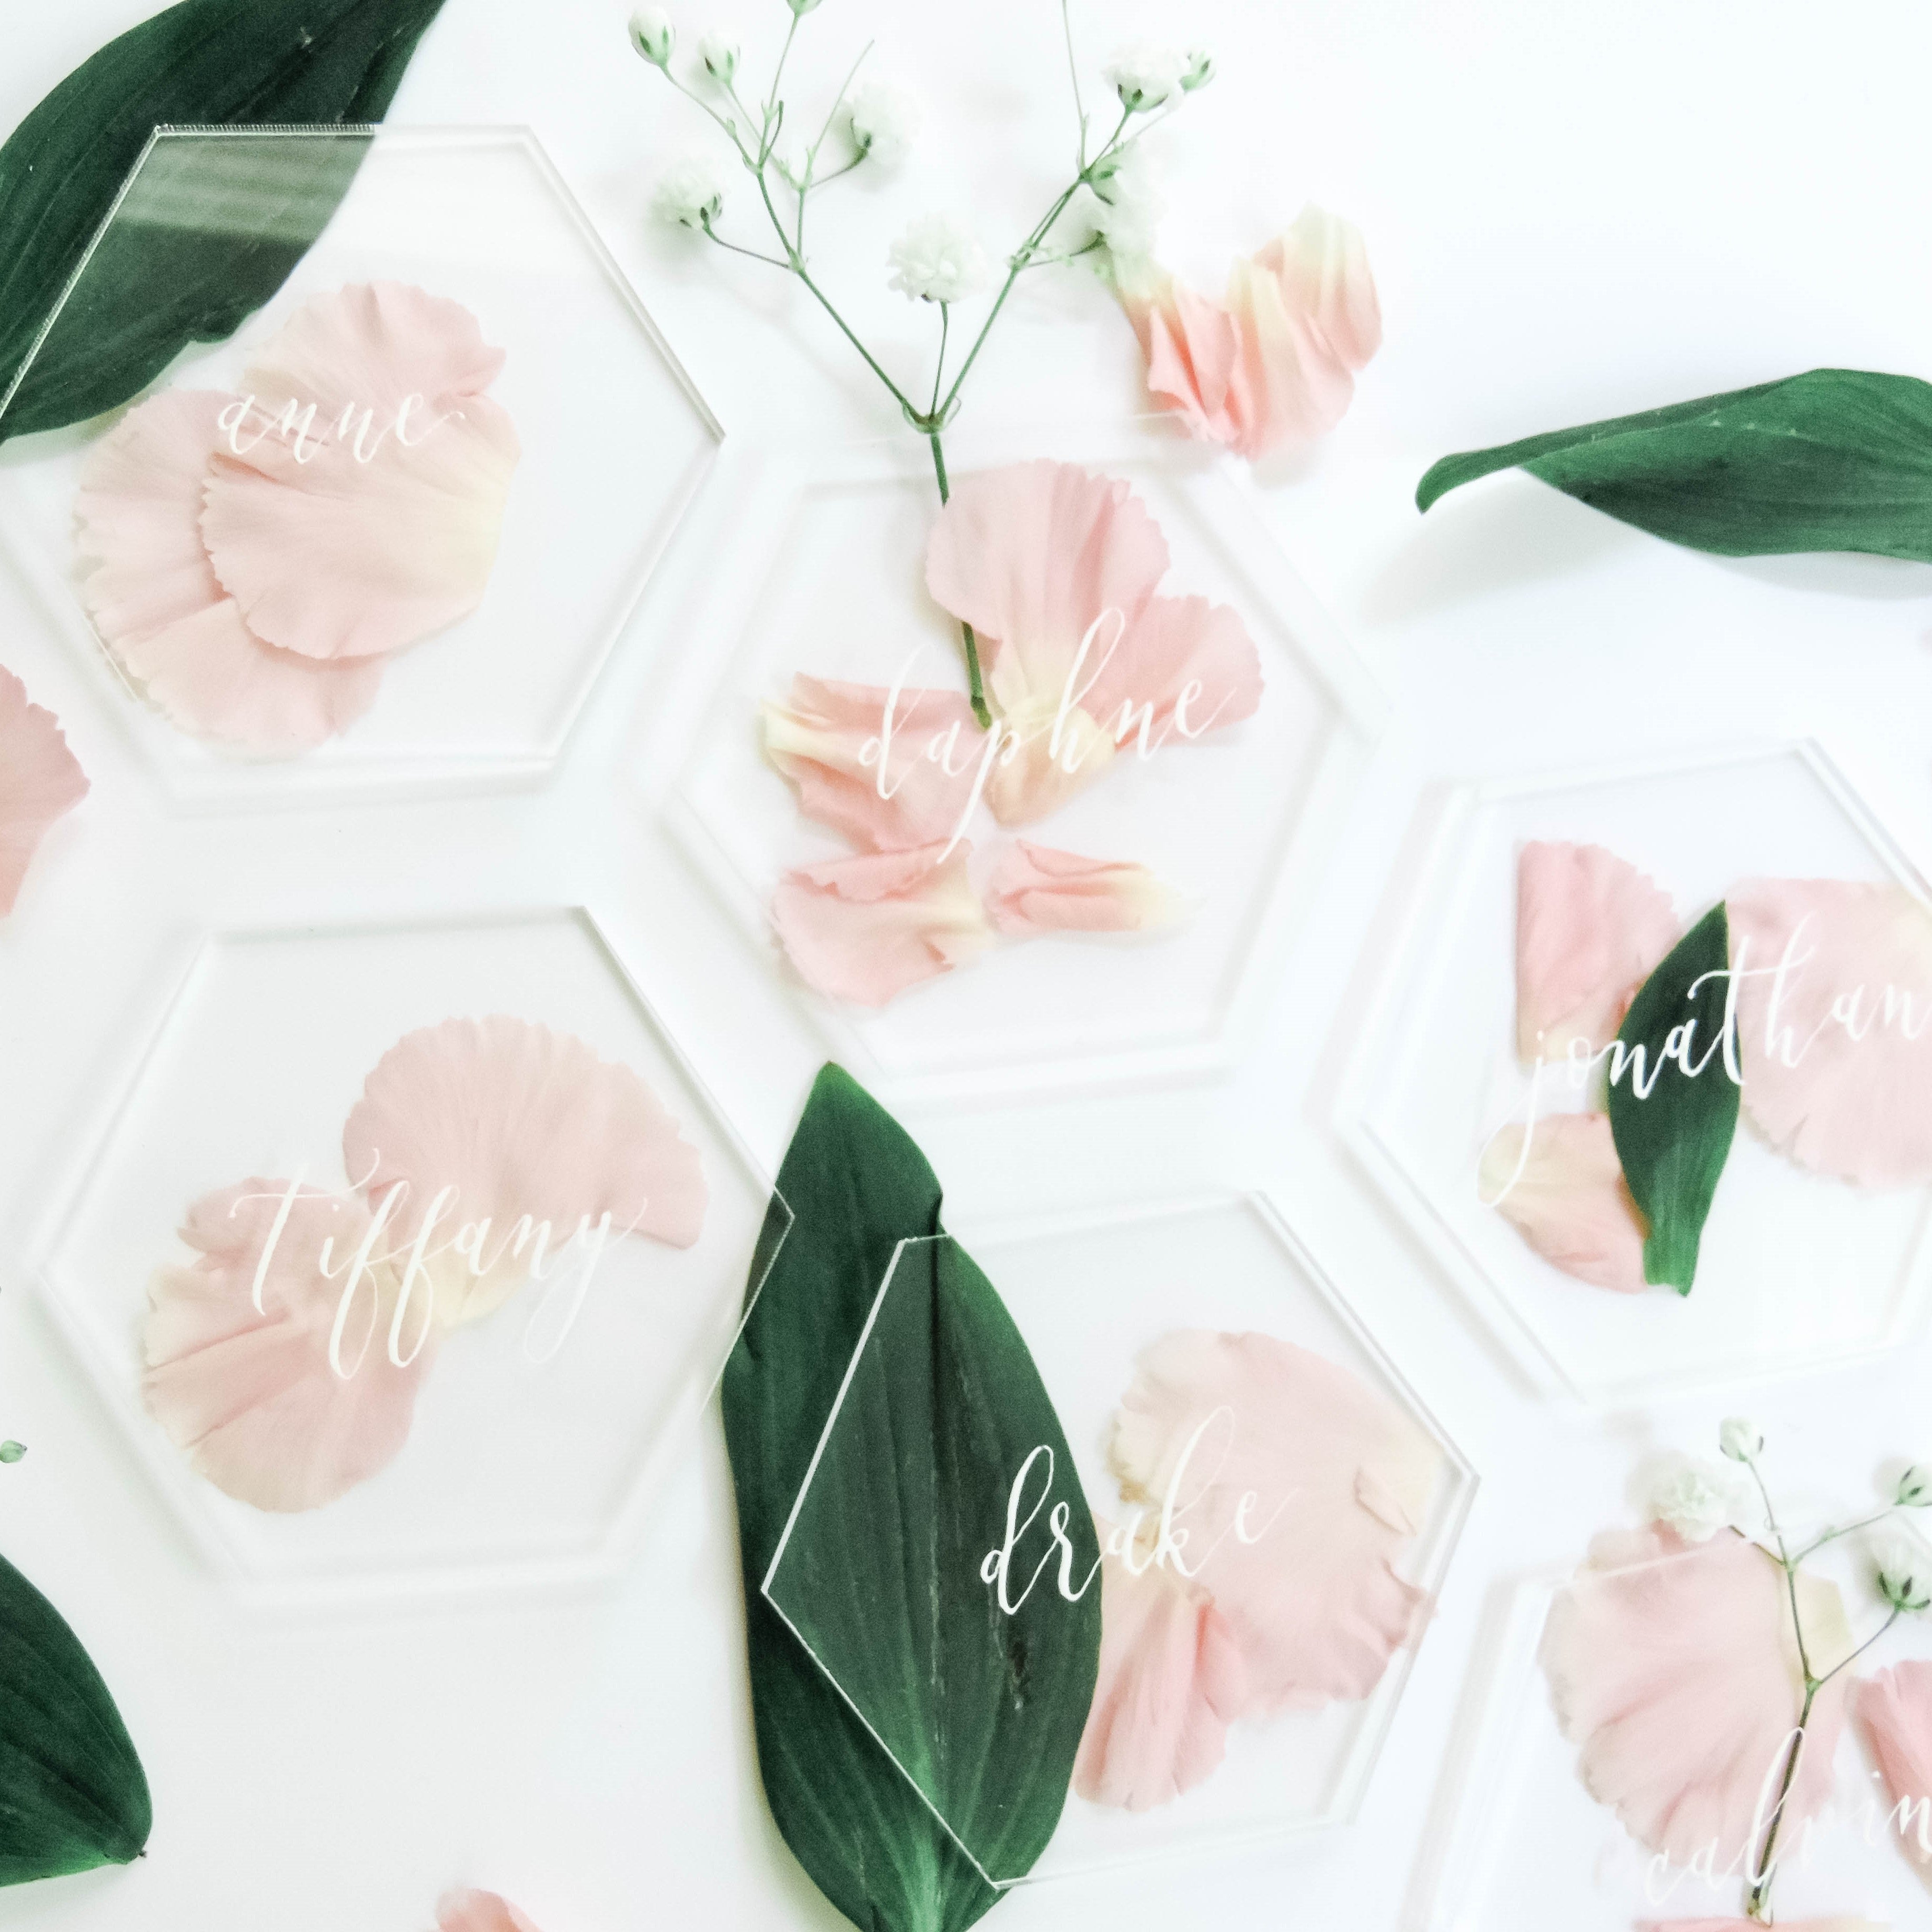
Adding acrylic elements to your reception adds a touch of modern elegance. Acrylic signs are so easy to create use because they are transparent. Which makes drawing your designs as easy as tracing them! Another great thing about acrylic signs is that you can paint them to match any color scheme. It’s easy to see why acrylic signs are trending in event designs for all types of celebrations!
If you’re looking to add acrylic signage to your wedding but you’re just not sure where to start, you’ve come to the right place! If you’ve hired a calligrapher, chances are he/she will be able to create your acrylic signs for you. But that doesn’t mean you can’t do them yourself if you’re feeling creative! Here I’ll walk you through the different ways to create your acrylic signs and place cards. Enjoy!
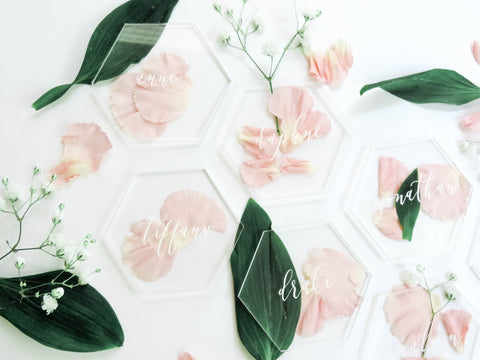
What you’ll need:
ART MEDIUM
paint pens | acrylic paint & brushes | calligraphy ink
ACRYLIC SIGNAGE
rectangle place cards | hexagon place cards
frosted 8x10 sign | frosted 5x7 sign
clear 8x10 sign | clear 5x7 sign
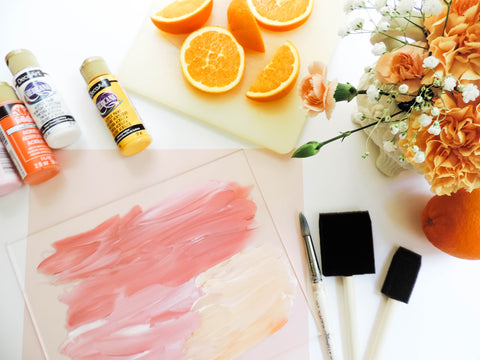
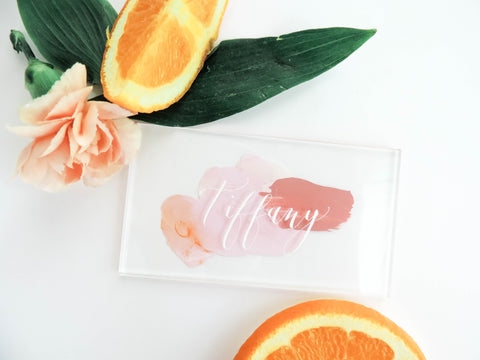
For a design that lasts, use acrylic paint and a brush to add color to the back of your acrylic signs. You can use traditional brushes or sponge brushes. Choose a high quality acrylic paint such as Martha Stewart Acrylic Craft Paint, FolkArt Multi-Surface Acrylic Paint by PLAID or DecoArt Americana Series Acrylic Paint. If you plan to paint the back of the acrylic sheet, do so after you draw your design on the front so you can trace it if you choose
PAINT PENS
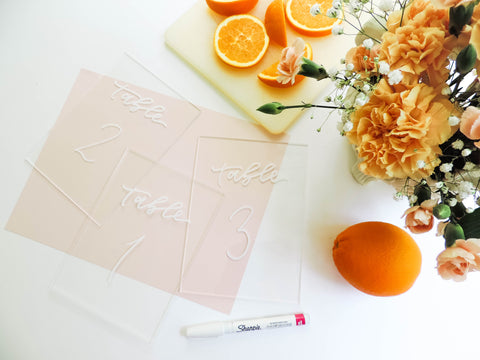
Paint pens are the easiest way to create fun and easy designs for your acrylic signs! I use the Sharpie Oil Based Paint Pens as they won’t smear and are permanent. Use the finer tip paint pens for lettering and fine illustrations. The thicker tip paint pens are great for bold numbers and designs. I almost always use white or black paint pens but any color (including metallic) work well on the acrylics.
NIB & INK
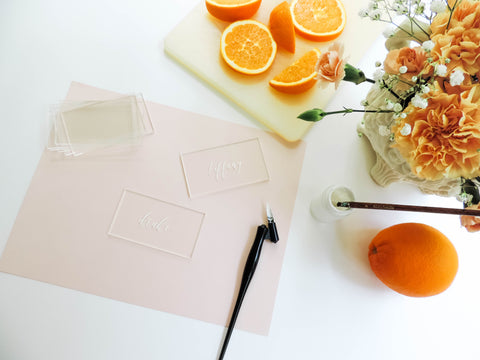
I love to use paint pens on the larger signs, but when it comes to mini acrylic signs, I prefer to use ink. I can write much smaller and with crisper lines than I can with markers. So if you’re working on creating place cards I recommend opting for a calligraphy ink like Dr. Ph. Martin’s. As for the nib, I usually grab my Nikko G or Blue Pumpkin nibs. Though most nibs should work just fine as these acrylic sheets have a nice smooth surface.
SHAPES & SIZES
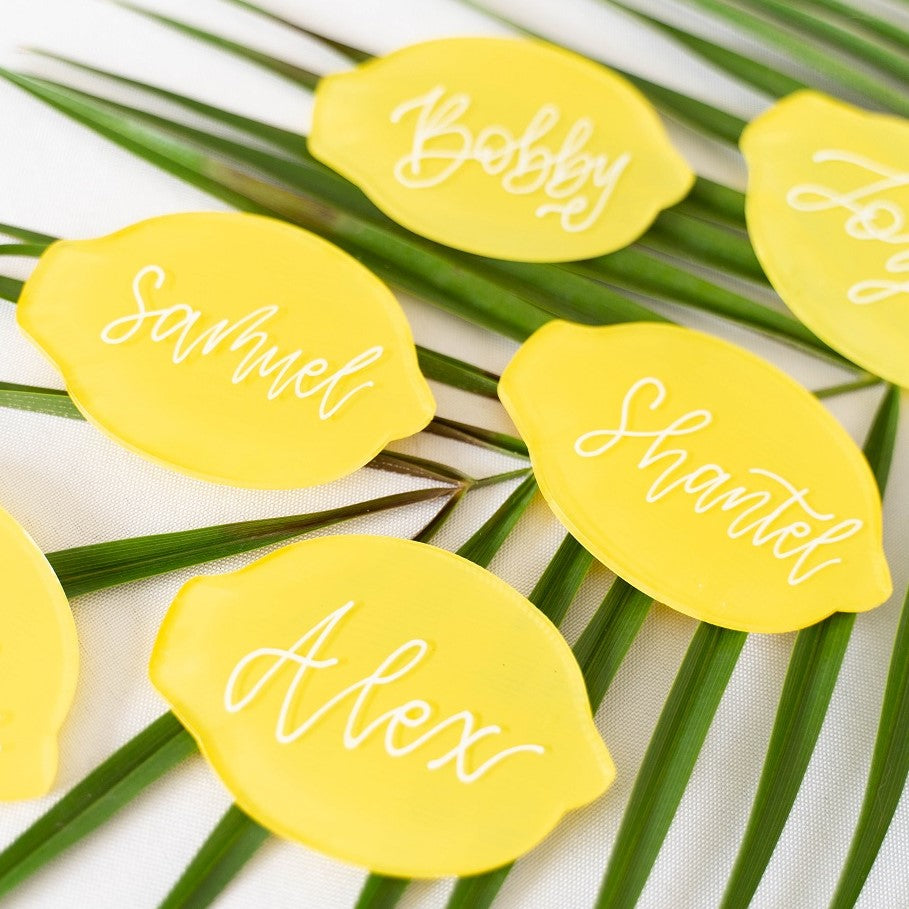
I love that the acrylic products sold by Uniqooo are already the perfect size, which means there’s no need to do any cutting! I use the 5x7 signs for creating table numbers and use the 8x10s for bar menus and guest book signs. Both of the larger sizes come in clear and frosted! The 3.5x2 small rectangles and the 3.12x2.75 hexagons are the perfect size for place cards and other mini reception signs. If you’re using the mini signs for a buffet or dessert table be sure to grab the mini stands so guests can see your adorable signage!
EMBELLISH
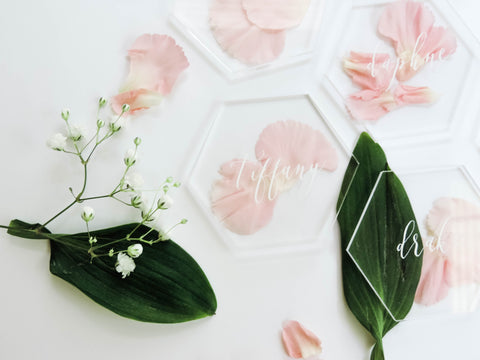
If you opt not to paint the backs these acrylic signs look stunning when placed in front of… well, anything! Just lay place cards over a bed of fresh or dried petals and greenery for a stunning display. You can also embellish acrylic sheets with gold foil, wax seals and ribbons!

CLEANING
If you do make a mistake, you can remove most mediums with soap and water or Windex. Oil Based Paint Pens are the exception as those are really, really permanent on the acrylic. Remove calligraphy ink with soap and water if the ink is still wet or with Windex if the ink is already dry. Remove acrylic paint with Windex… and patience. It took a bit of scrubbing to remove the painted back, but in the end it did come off. Just don’t scrape the paint off as it could scratch the acrylic sheet. For quick and easy reference, just refer to the infographic below.
Hopefully this post leaves you feeling inspired and fully ready to take on your acrylic project!
Have a question about something I didn’t cover? Feel free to get in touch or leave a message in the comments!
